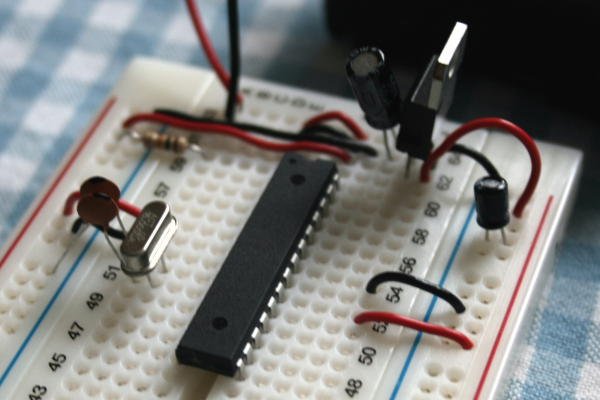
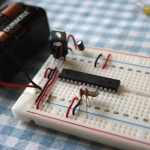
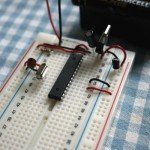
That’s it. The arduino chip (an ATmega 168) with the minimum life support system to sustain it. It’s basically being powered by 5 volts (taken from 4 x 1.5v AA batteries with suitable reduction and smoothing) with a 16 Mhz crystal to beat time.
The idea is that the chip (once programmed on the arduino diecimila board) can be removed from the board, placed on a breadboard, and then powered by battery (so that it can sit on the binocular mirror mount). The chip will receive instructions over bluetooth and then process them (eg turn the Altitude stepper motor 100 steps clockwise etc).
The Guides
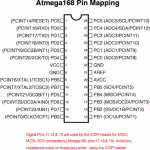
The basic ‘map’ of the chip’s pins is shown on the right.
The instructions for wiring are set out in detail (and they’re pretty straightforward) by Tom Igoe in his excellent tutorial.
There is also a different version here.
I should also point out that there are two different ‘arduino on a breadboard’ configurations:
1st: the easy one (as shown). Here you use a chip that has the arduino ‘bootloader’ already on it. So it’s not a completely blank chip it has been ‘formatted’ with code by the arduino supplier. This means that you can program and re-program that chip on the arduino diecimilla, then remove it and put it on a breadboard. But you can only do the programming on the arduino diecimilla if you have a chip with the bootloader already on it. If you use a completely blank chip then you need to find a way of putting the ‘bootloader’ onto the chip first.
2nd: the difficulty way. This is where you can load onto a completely blank chip the bootloader programme first, then put the chip into the aruduino, programme it as per normal, and then remove it and put it back on the breadboard. I might (attempt) to do this in due course but for the time being I’m only interested in the ‘easy one’.
The UK parts
The 3 UK outlets I found for these parts were: Maplins, Rapid Electronics, and Digikey.
Digikey was the first choice because Tom Igoe provided a parts list with all the Digikey references. The only trick is that this is for the old ATMega8 chip that the Arduino used to ship with, and not the ATmega168 which the Arduino Diecimilla et al use.
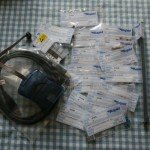 In the end, I used the following from Rapid Electronics – it’s not exactly a pricey business:
2 x 08-00466 22PF 2.5MM PITCH CERAMIC CAPACITOR – £0.006
1 x 78-11507 SQUARE BUTTON 6X6MM TACT SWITCH – £0.12
1 x 90-108212 16.00MHZ HC49/S CRYSTAL +-20PPM – £0.20
1 x 11-293014 10UF 50V LOW IMPEDANCE ELECTROLYT CAP – £0.04
1 x 11-151816 5MM MICROMIN. 1UF 50V ELECTROLYTIC – £0.04
1 x 47-331318 7805 REGULATOR TO-220 (TRU) – £0.25
+ the resistors, which i had already.
As part of my research, I also found the following parts at Maplins that others may wish to use instead. I did all this research before I came across TI’s standalone parts list, so i’m not 100% sure that they are precisely the correct parts. However, just for somebody somewhere, here they are
1 x 7805 Voltage regulator
150mA Ultra Low Dropout Positive Voltage Regulator, TS2950CT-5.0, Maplins: N69CA, £0.78
or
1A Positive Fixed Voltage Regulators, TS7805CZ, Maplins: QL31J, £0.63
1 x 10uF Capacitor, Maplins: AT98G, GenElect, 10uF 16V, £0.16
1 x 1uF Capacitor, Maplins: VH16S, PC Elect, 1uF 100V, £0.11
2 x 22 pF capacitors, Metallised Ceramic Plate Capacitors, Ceramic 22, Maplins: WX48C, £0.11
1 x 16Mhz crystal, General Purpose Crystals in U4 Style Case, Maplins: RR89W, Crystal 16MHz U4
Push Button: One of these – Switch 105 KR88V £0.89, Switch 105A KR89W £0.89, Switch 105B KR90X, 0.89, Switch 105T KR91Y £0.89
1 x Breadboard, Silver-Plated Plugblock Type RH-32S, FD32K, £10.67
The Results
The results below show the arduino powered by 4 x ordinary AA 1.5v batteries. (There is one error in these photos – I haven’t wired pin 21 to the power rail on the right – as per Tom Igoe’s tutorial. It wasn’t significant for my purposes – this wire is the ‘analog reference’ which is detailed here, basically it tells the analog inputs what a ‘normal voltage’ is. Anyway, I thought I should flag it up.
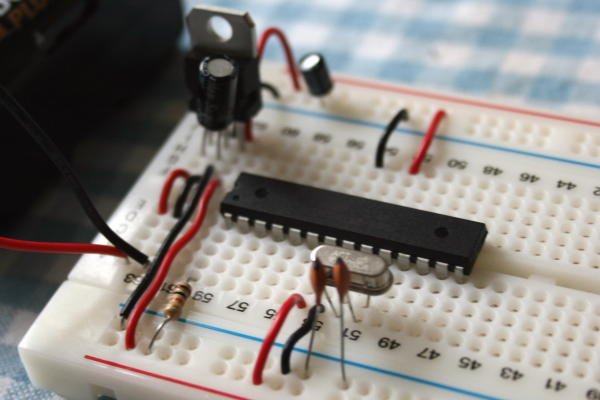

Easy.
B


post a comment...
you must be logged in to post a comment.